Simple, Lined Envelope Pouch Tutorial
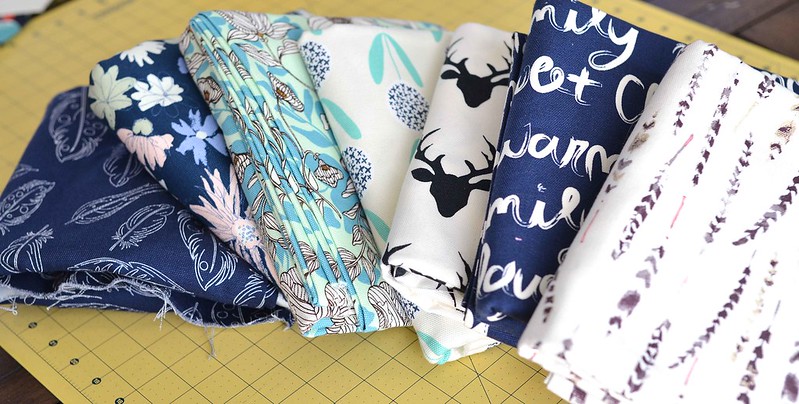
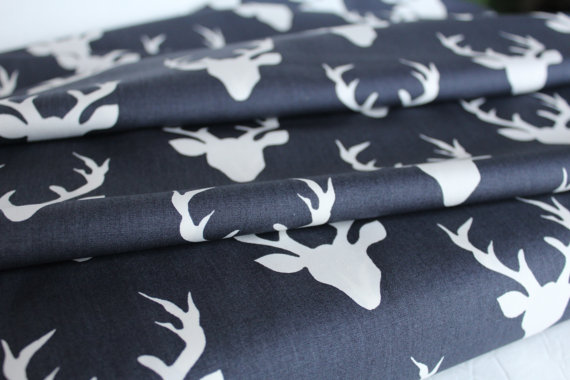
A few weeks ago a friend (who is a nurse) told me that a local hospital had a need for pouches to send home belongings with families. I contacted the good people at Art Gallery Fabrics and they graciously donated a variety of their new canvas prints (and Pure Elements solids for the linings) so that I can make a big stack of pouches.
They are gorgeous! I am very impressed with how the canvas is simultaneously sturdy and soft. They have a very nice drape and a great texture. I actually already bought some more for myself to use for Christmas presents.
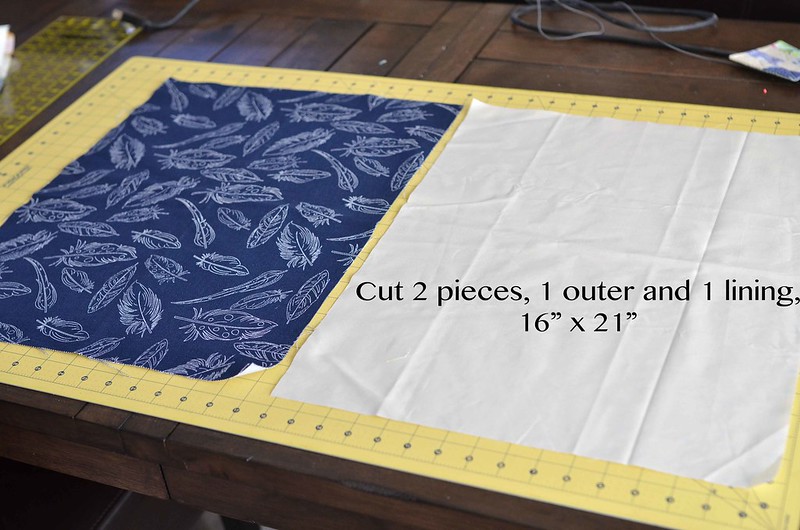
So I set out to find a tutorial to make the pouch, but I couldn't find anything that described exactly what I wanted. Since I was able to work out a pretty simple method, I thought I would share it with you. These are fairly large (8" x 13.5") since that is what I needed for my purpose, but you could make them any size.
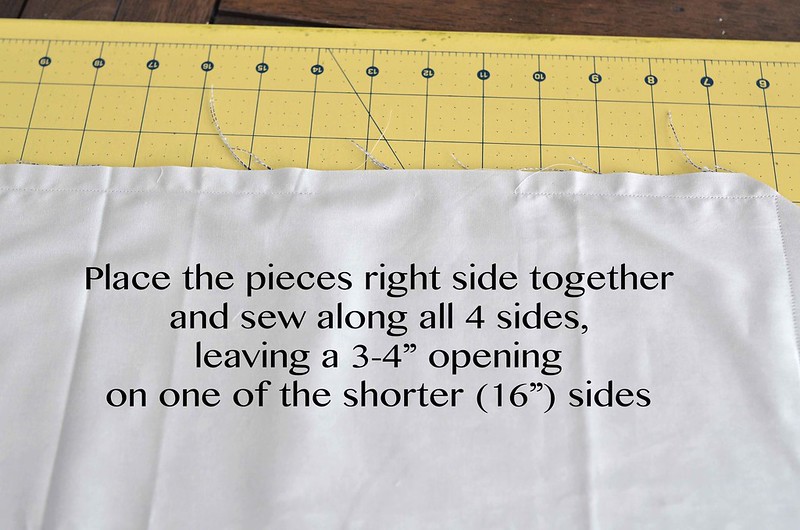 |
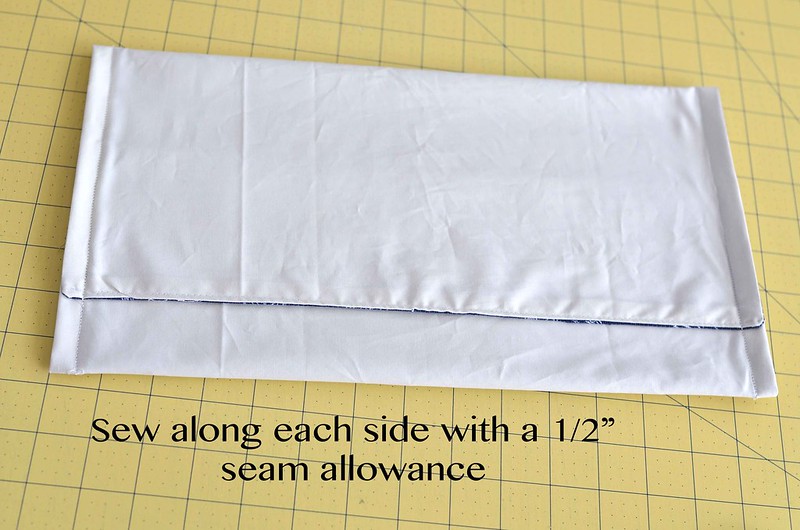
| Use a 1/2" seam allowance |
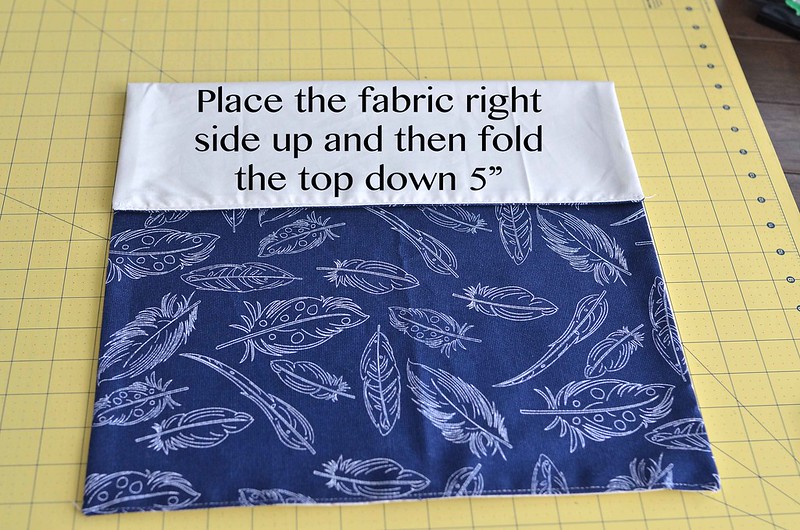
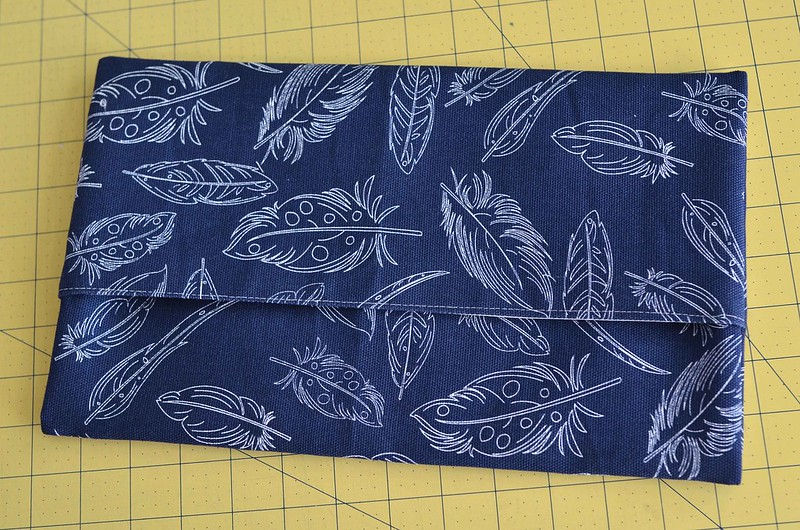
I'm sorry, I forgot to get a photo of the next step so hopefully you can visualize it from the photo below. Fold up the bottom of the fabric so that it has a 3.5" overlap with the folded down top fabric.
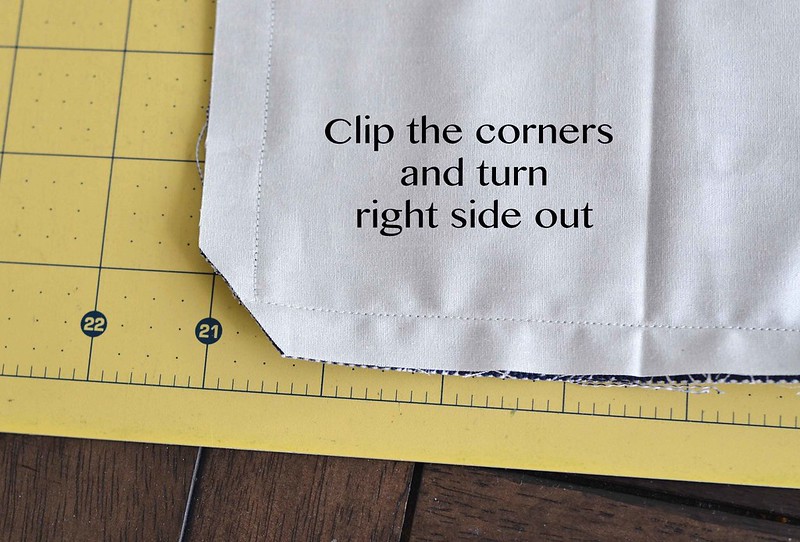
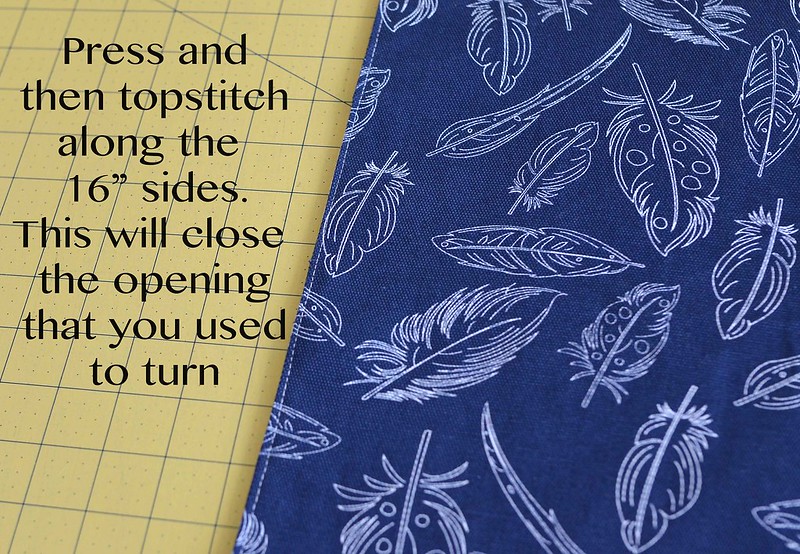
The the pouch right side out and give it a little press with your iron.
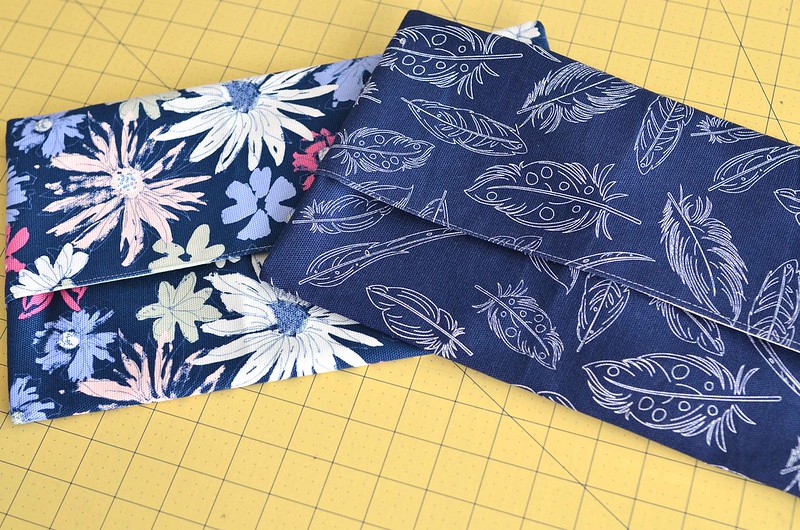
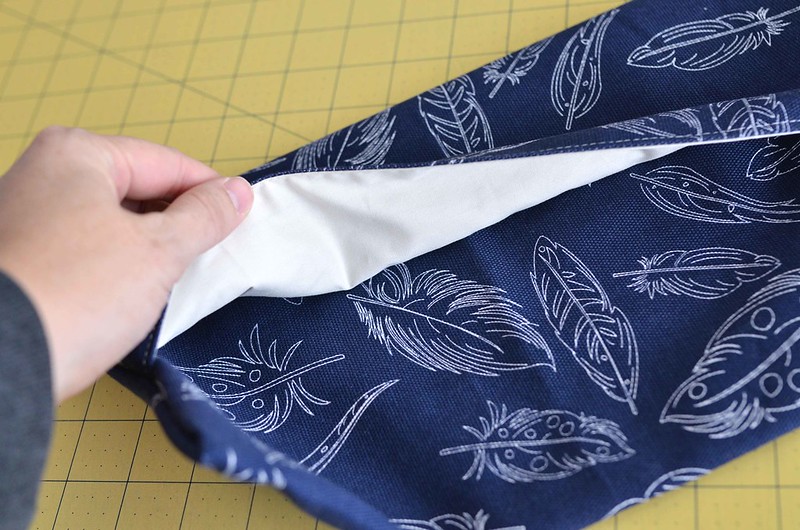
And look, it's lined!
And now you have a pouch that will safely contain your things without having to use a zipper.
Cute and clever and quick Erica! Love those Art Gallery fabrics too!
ReplyDeleteThose are such a fun and easy little project. How kind of you to make them.
ReplyDeleteGreat! Thanks :)
ReplyDeleteNice clean finish, no stray threads to get caught in whatever goes inside! Beautiful!
ReplyDeleteNice idea! Would make great reusable gift wrapping as well
ReplyDelete